OnlyOffice is yet another entry in a long line of cloud-based office suites. Because it is cloud-based, you can use it from any browser on any platform. However, if you prefer working with such applications in their own dedicated window (with their own features), you might be interested to know that you can also install the OnlyOffice Desktop Editors suite on Linux. Desktop Editors is quite a nice piece of work. With it, you can use your OnlyOffice account (either personal or business), work with local files, upload files, work with a team, and much more.
Yes, all of this can be done through your standard web browser, but if you want to ensure full compliance, there’s no better way than to use OnlyOffice’s official Desktop Editors. This is actually one application that gets you direct access to the word processor, spreadsheet, and presentation tools—all from one, well designed interface.
I am going to walk you through the process of setting this up on an Ubuntu 16.04 desktop. As of this writing, OnlyOffice only supports Debian-based Linux distributions. I also tested it on elementary OS Freya with equal success.
The system requirements for this installation are:
-
CPU: dual-core 2 GHz or better
-
RAM: 2 GB or more
-
HDD: at least 2 GB of free space
-
OS: 64-bit Debian-based distribution, running at least kernel 3.8
Installation
The installation requires the use of the command line. If you follow these simple instructions, however, it will go off without a hitch.
First, you must add the OnlyOffice GPG signing key:
-
Open a terminal window
-
Download the OnlyOffice key with the command sudo wget http://download.onlyoffice.com/repo/onlyoffice.key
-
Add the key with the command sudo apt-key add onlyoffice.key
Next, it’s time to add the OnlyOffice repo to apt. You’ll do this from the same terminal window you just worked in.
-
Open up /etc/apt/sources.list with the command sudo nano /etc/apt/sources.list
-
Add the line deb http://download.onlyoffice.com/repo/debian squeeze main to the end of the file
-
Press Ctrl+x to save the file
-
Press y when prompted
The next step is to update apt and install. You’ll do this in the same terminal window as before.
-
Issue the command sudo apt-get update
-
Install the software with sudo apt-get install onlyoffice-desktopeditors
-
Allow the installation to complete
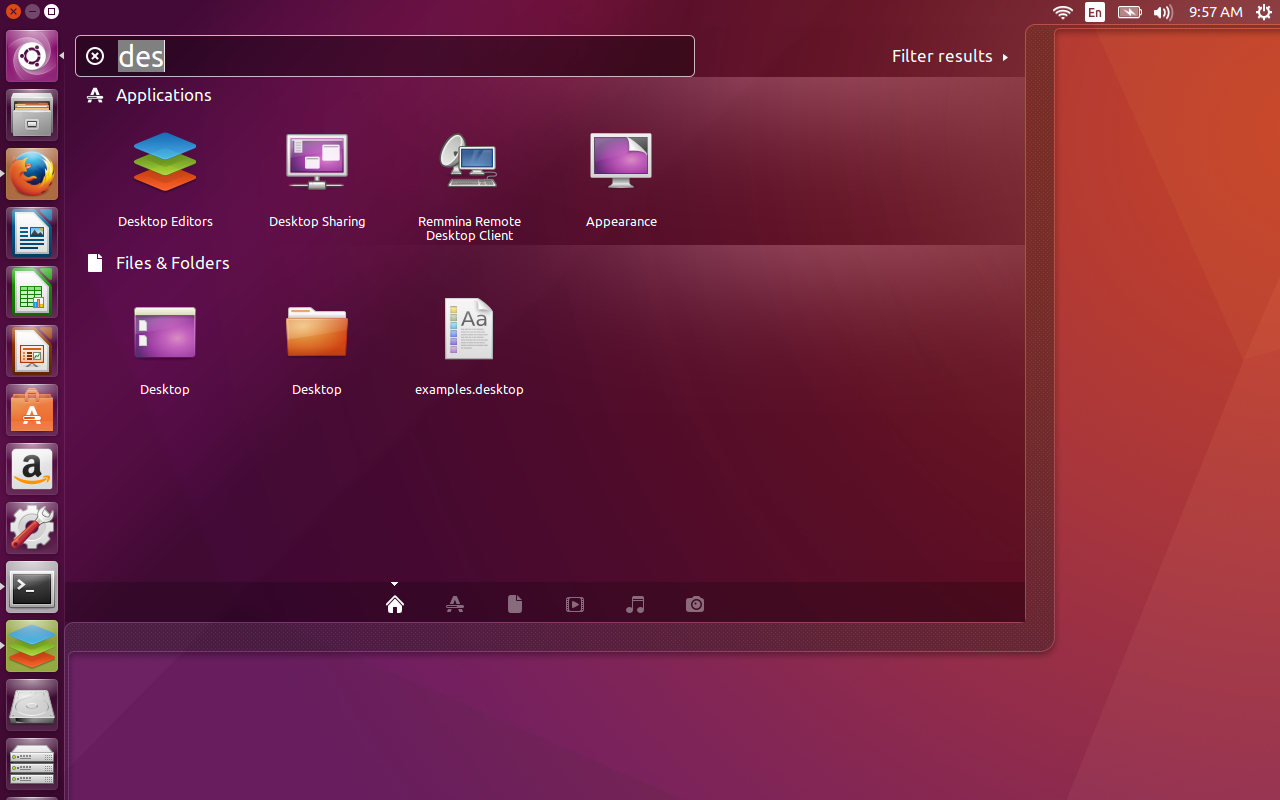
During the installation, you will be prompted to OK the installation of the Microsoft Core Fonts (if it is not already installed). Okay that and then accept the license to continue and complete the installation. Once the Desktop Editors is installed, open up the Unity Dash (or your desktop menu, whichever you are using), and do a search for desktop. You should see the launcher for Desktop Editors lists (Figure 1). Click the icon to start the application. NOTE: You can also start the application with the command desktopeditors.
Logging In to OnlyOffice
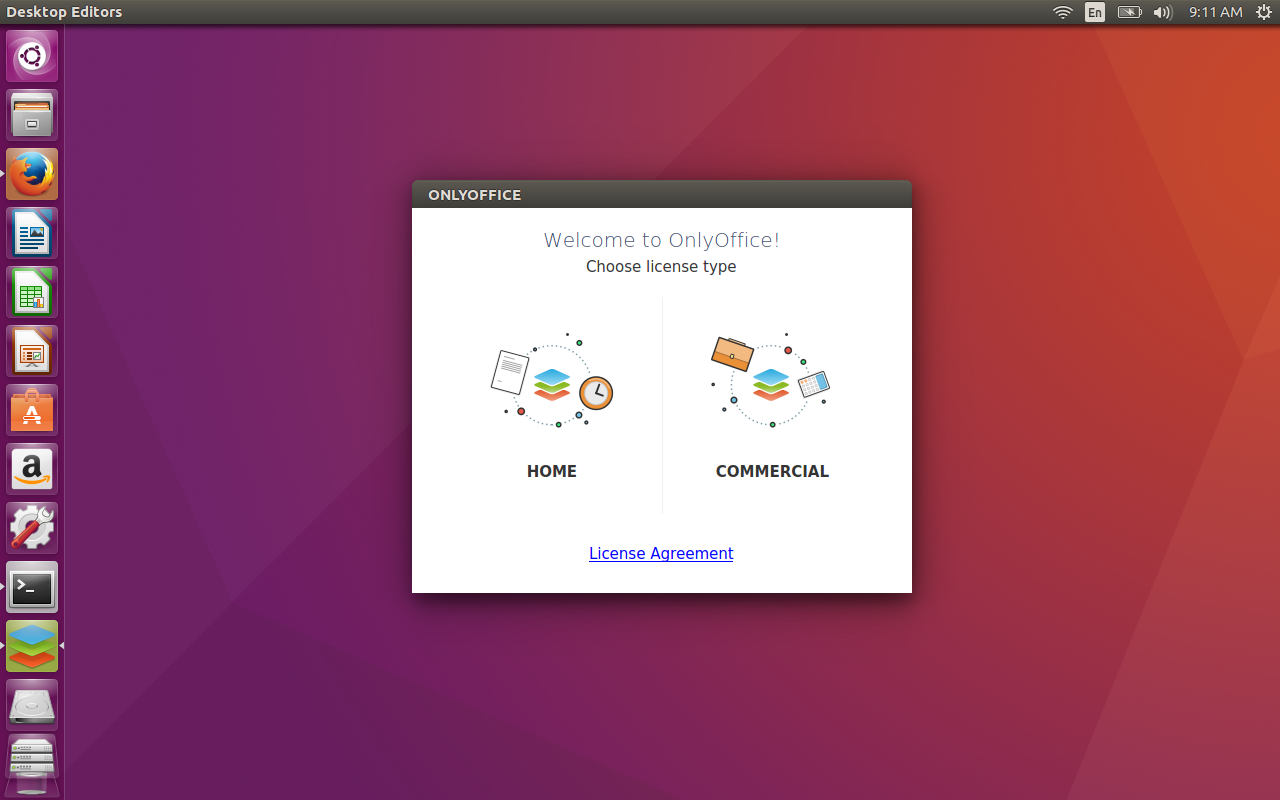
When the Desktop Editors application opens, click on the edition of OnlyOffice you will be using (Figure 2 — either Home or Commercial). If you’re using a free personal account, click on Home, otherwise click Commercial.
-
Open OnlyOffice Desktop Editors
-
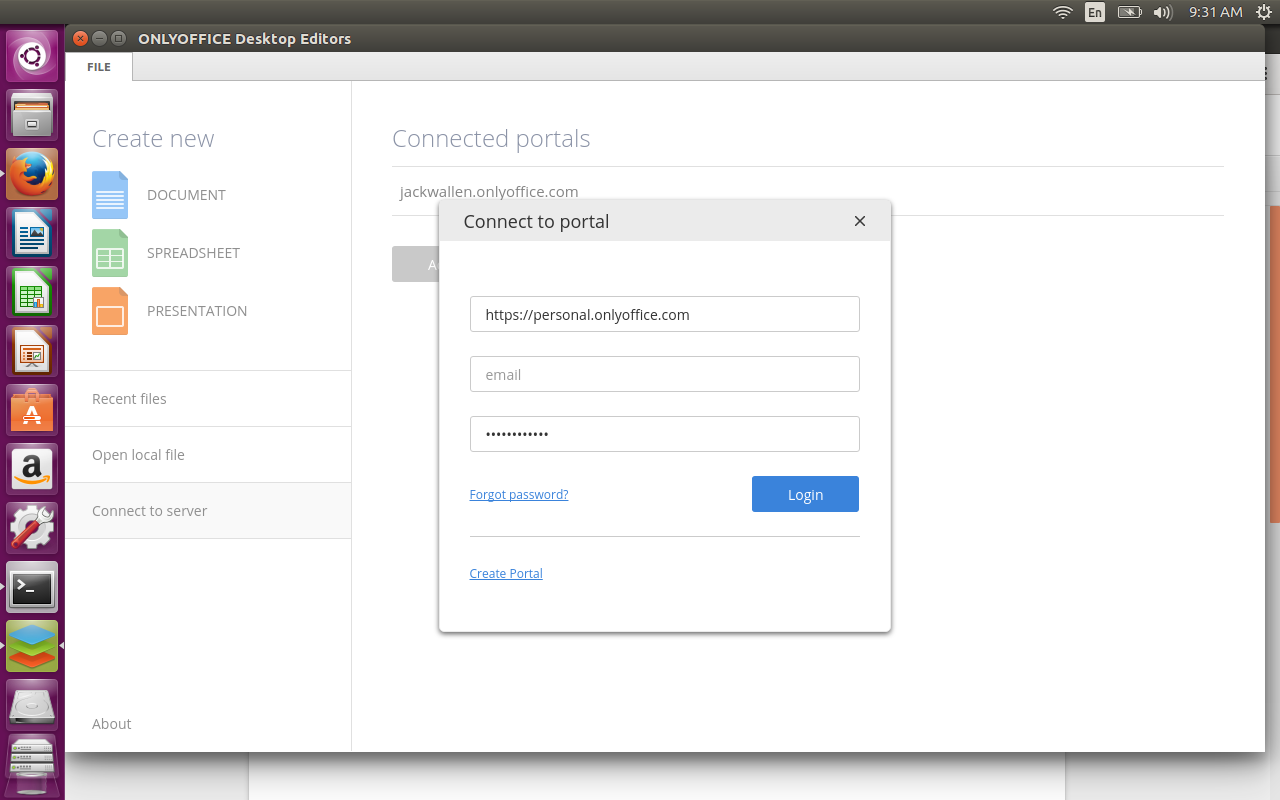
Click on Connect to server
-
Click Add Portal
-
Enter the information for the new portal
-
Click Login
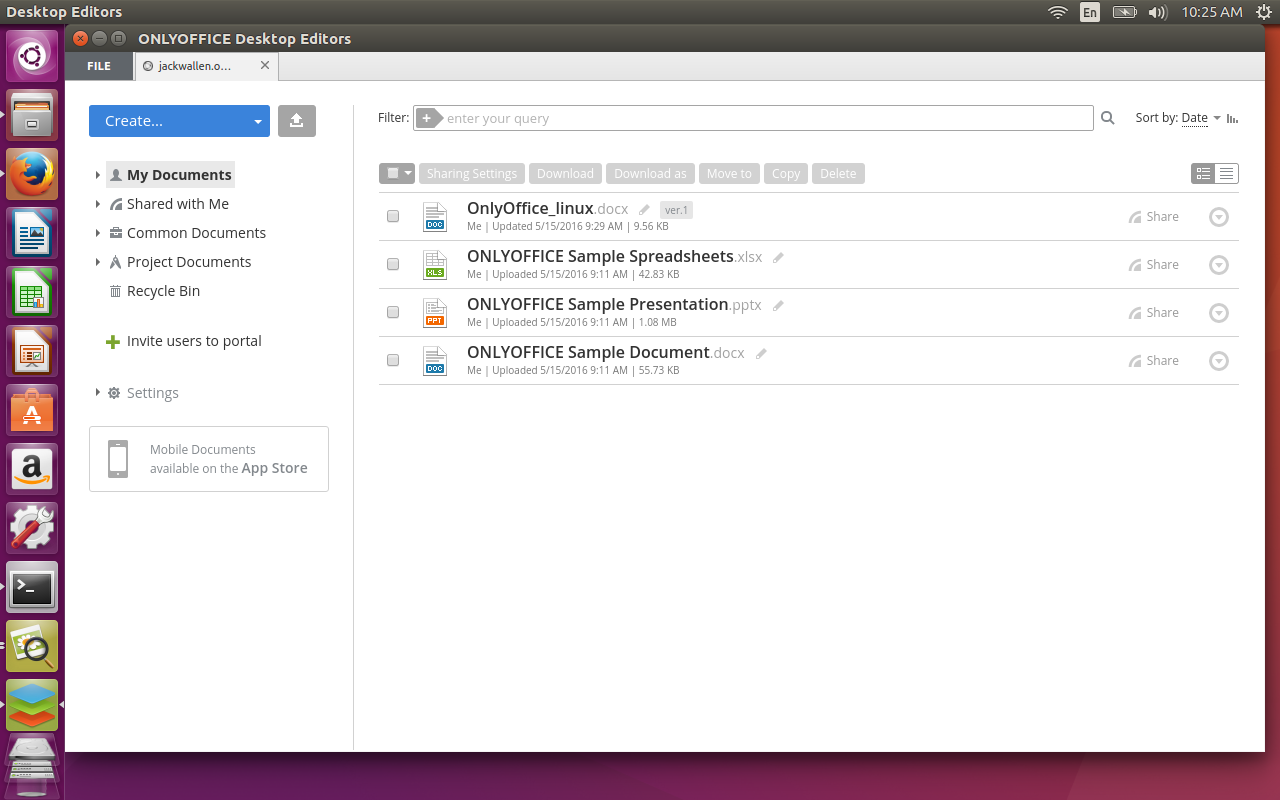
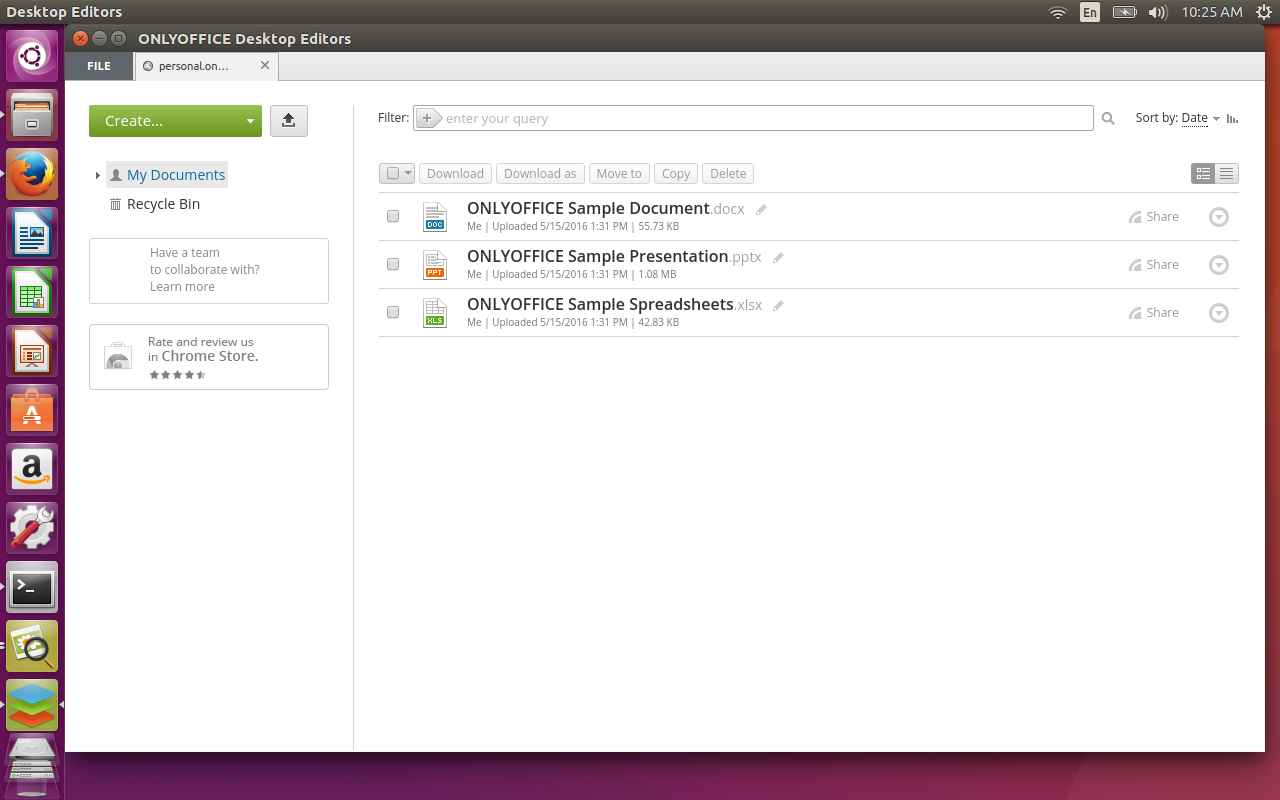
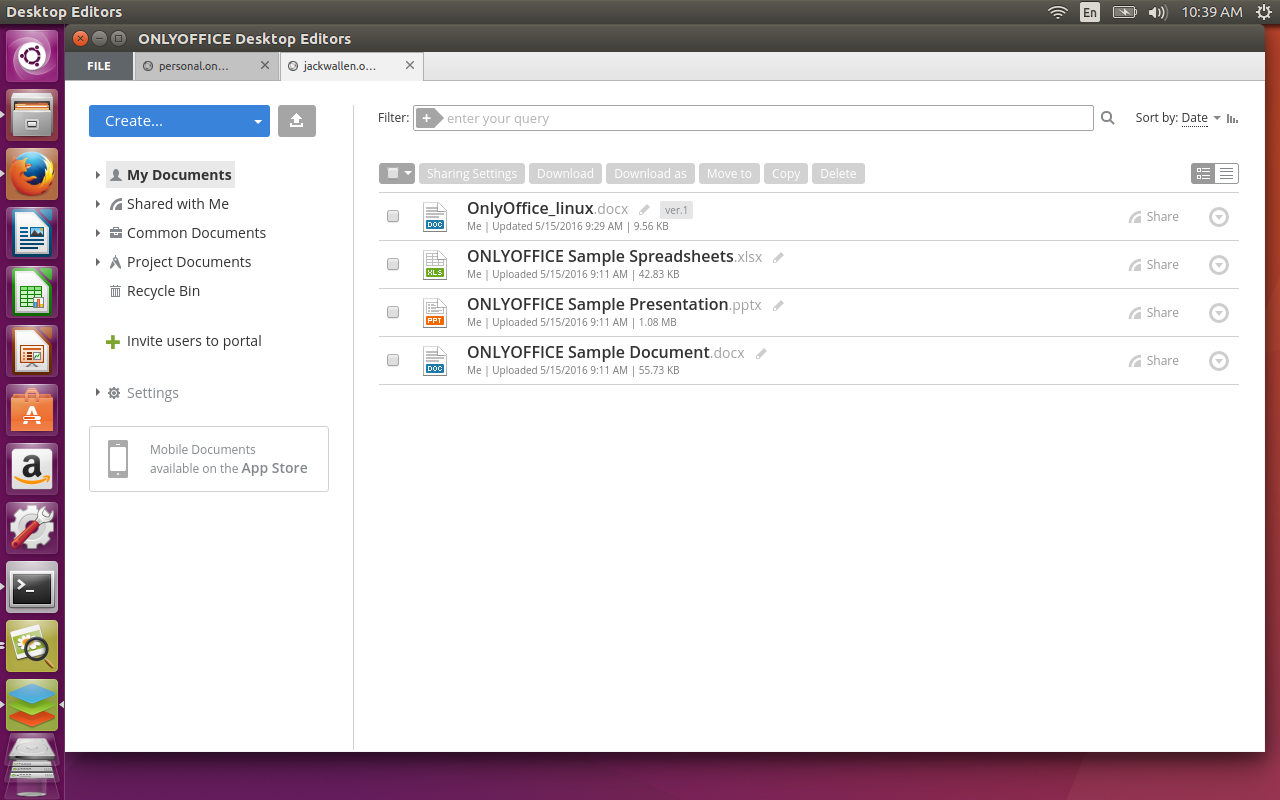
Each portal will open as a new tab (Figure 6).
Is It Worth It?
OnlyOffice Desktop Editors is actually a really nice addition to the office suite toolkit. No, it’s not open source (which will be a turnoff to some users), but it works on Linux and can serve as a solution that can easily serve as your main productivity tool. If you’re looking for an outstanding cloud-based office suite, and neither Google or Office365 appeal to you, OnlyOffice might very well be what you’ve been looking for.
Give OnlyOffice Desktop Editors a try and see if it doesn’t meet or exceed your needs.


