Containers are all the rage in IT — with good reason. Containers are lightweight, standalone packages that contain everything needed to run an application (code, libraries, runtime, system settings, and dependencies). Each container is deployed with its own CPU, memory, block I/O, and network resources, all without having to depend upon an individual kernel and operating system. And that is the biggest difference between a container and a virtual machine; whereas a virtual machine is a full-blown operating system platform, running on a host OS, a container is not.
Containers allow you to expand your company offerings (either internal or external) in ways you could not otherwise. For example, you can quickly deploy multiple instances of NGINX (even with multiple stagings — such as development and production). Unlike doing this with Virtual Machines, containers will not put nearly the hit on your system resources.
Docker makes creating, deploying, and managing containers incredibly simple. What’s best is that installing and using Docker is second-nature to the Linux platform.
I’m going to demonstrate how easy it is to install Docker on Linux, as well as walking you through the first steps of working with Docker. I’ll be demonstrating on the Ubuntu 16.04 Server platform, but the process is very similar on most all Linux distributions.
I will assume you already have Ubuntu Server 16.04 up and running and ready to go.
Installation
Since Ubuntu Server 16.04 is sans GUI, the installation and usage of Docker will be handled entirely through the command line. Before you run the installation command, make sure to update apt and then run any necessary upgrades. Do note, if your server’s kernel upgrades, you’ll need to reboot the system. Thus, you might want to plan to do this during a time when a server reboot is acceptable.
To update apt, issue the command:
sudo apt update
Once that completes, upgrade with the command:
sudo apt upgrade
If the kernel upgrades, you’ll want to reboot the server with the command:
sudo reboot
If the kernel doesn’t upgrade, you’re good to install Docker (without having to reboot). The Docker installation command is:
sudo apt install docker.io
If you’re using a different Linux distribution, and you attempt to install (using your distribution’s package manager of choice), only to find out docker.io isn’t available, the package you want to install is called docker. For instance, the installation on Fedora would be:
sudo dnf install docker
If your distribution of choice is CentOS 7, installing docker is best handled via an installation script. First update the platform with the command sudo yum check-update. Once that completes, issue the following command to download and run the necessary script:
curl -fsSL https://get.docker.com/ | sh
Out of the box, the docker command can only be run with admin privileges. Because of security issues, you won’t want to be working with Docker either from the root user or with the help of sudo. To get around this, you need to add your user to the docker group. This is done with the command:
sudo usermod -a -G docker $USER
Once you’ve taken care of that, log out and back in, and you should be good to go. That is, unless your platform is Fedora. When adding a user to the docker group to this distribution, you’ll find the group doesn’t exist. What do you do? You create it first. Here are the commands to take care of this:
sudo groupadd docker && sudo gpasswd -a ${USER} docker && sudo systemctl restart docker

newgrp docker
Log out and log back in. You should be ready to use Docker.
Starting, stopping, and enabling Docker
Once installed, you will want to enable the Docker daemon at boot. To do this, issue the following two commands:
sudo systemctl start docker

sudo systemctl enable docker
Should you need to stop or restart the Docker daemon, the commands are:
sudo systemctl stop docker

sudo systemctl restart docker
Docker is now ready to deploy containers.
Pulling images
For Docker, images serve as the building blocks of your containers. You can pull down a single image (say NGINX) and deploy as many containers as you need from that image. To use images, you must first pull them onto your system. Images are pulled from registries and your Docker installation includes usage of the default Docker Hub — a registry that contains a large amount of contributed images (from official images to user-contributed).
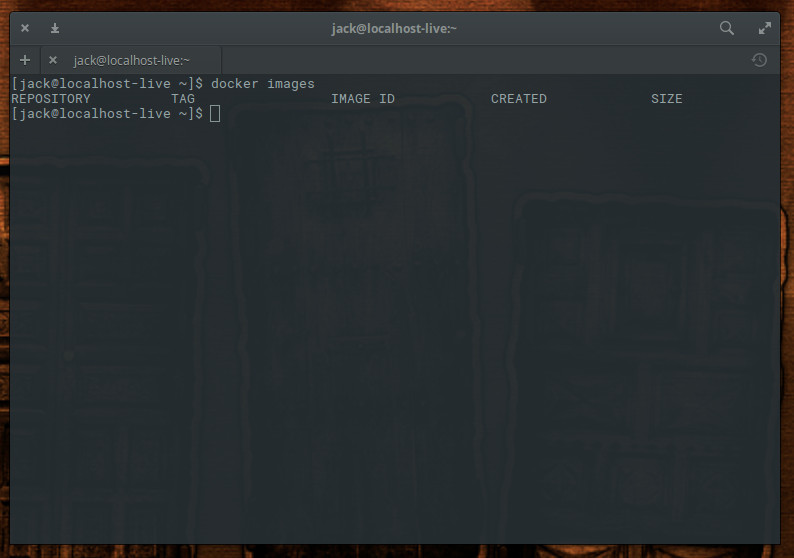
Let’s say you want to pull down an image for the Nginx web server. Before doing so, let’s check to see what images are already to be found on our system. Issue the command docker images and you should see that no images are to be found (Figure 1).

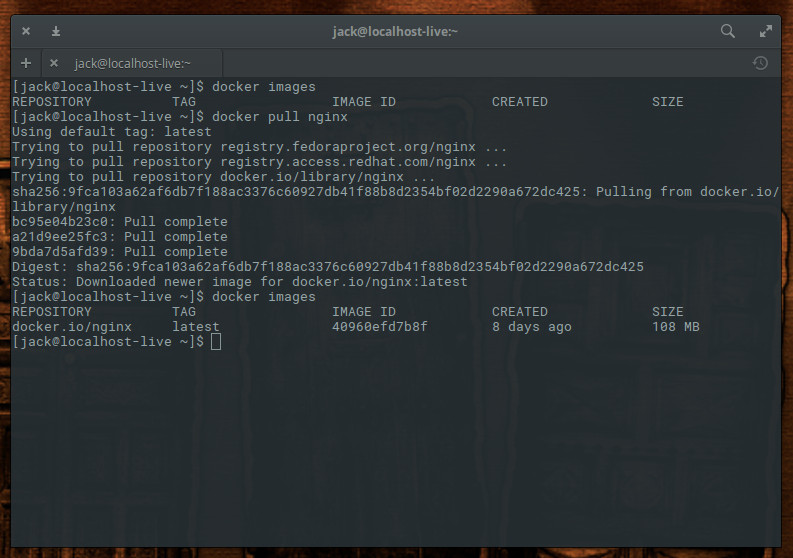
Let’s fix that. We’ll download the Nginx image from Docker Hub with the command:
docker pull nginx
The above command will pull down the latest (official) Nginx image from Docker Hub. If we run the command docker images, we now see the image listed (Figure 2).

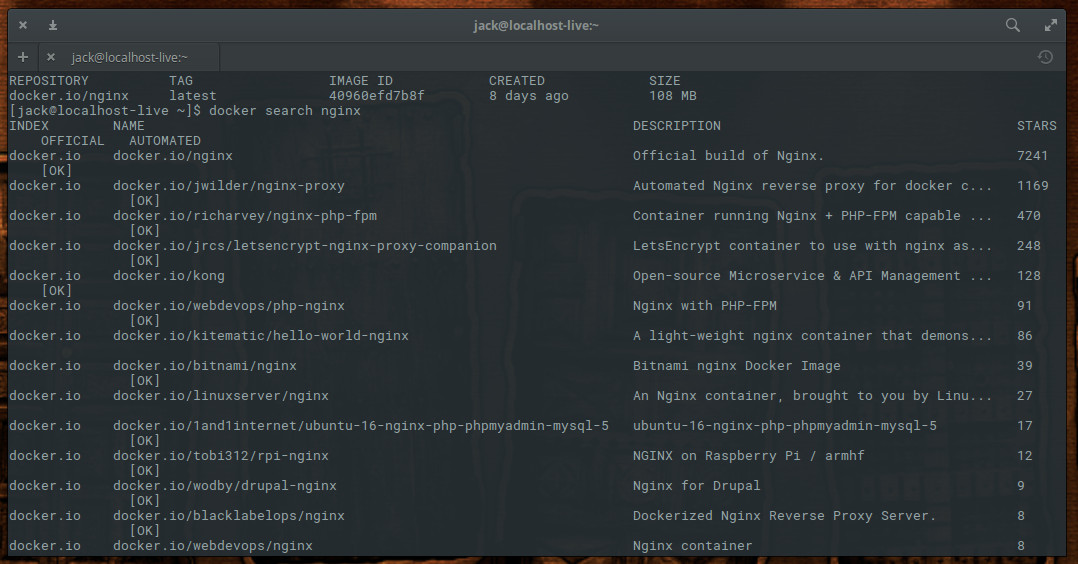
Notice I said “official” Nginx image? You will find there are plenty of unofficial Nginx images to be found on Docker Hub. Many of these unofficial images have been created to serve specific purposes. You can see a list of all Nginx images, found on Docker Hub, with the command
docker search nginx
As you can see (Figure 3), there are Nginx images to be had for numerous purposes (reverse proxy, PHP-FPM-capable, LetsEncrypt, Bitnami, Nginx for Raspberry Pi and Drupal, and much more).

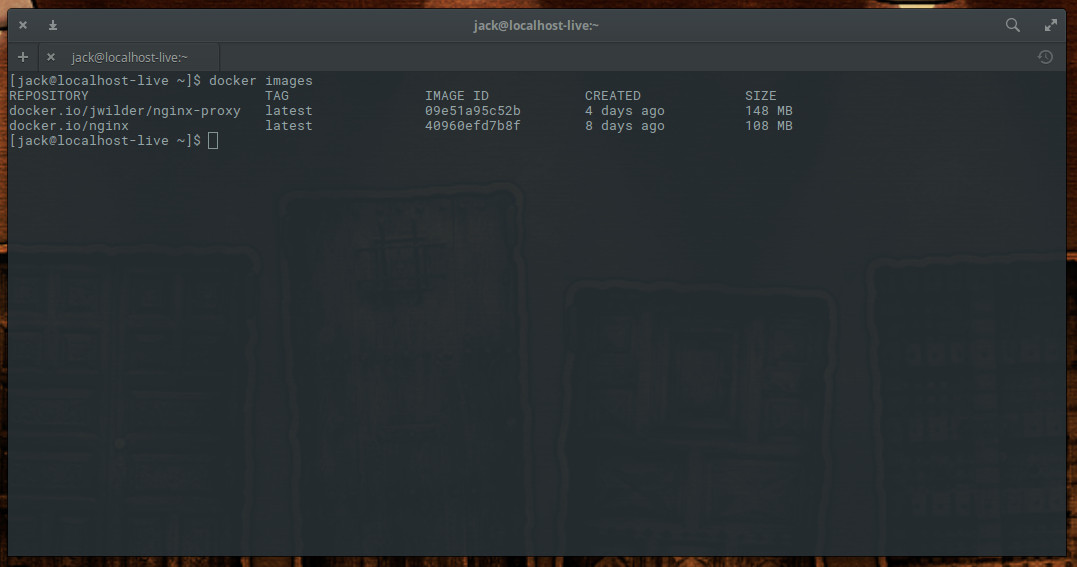
Say, for example, you want to pull down the Nginx image with reverse proxy functionality built in. That unofficial image is called jwilder/nginx-proxy. To pull that image down, issue the command:
docker pull jwilder/nginx-proxy
Issue the command docker images to see the newly pulled images (Figure 4).

As a word of caution, I recommend only working with the official images, as you cannot be certain if an unofficial image will contain malicious code.
You now have images, ready to be used for the deploying of containers. When next we visit this topic, we’ll begin the process deploying those containers, based on the Nginx image.
Docker is an incredibly powerful system that can make your job easier and your company more flexible and agile. For more information on what Docker can do, issue the command man docker and read through the man page.
Learn more about Linux through the free “Introduction to Linux” course from The Linux Foundation and edX.


