

I must confess, although I often wax poetic about the old ways of the Linux desktop, I much prefer my distributions to help make my daily workflow as efficient as possible. Because of that, my taste in Linux desktop distributions veers very far toward the modern side of things. I want a distribution that integrates apps seamlessly, gives me notifications, looks great, and makes it easy to work with certain services that I use.
However, every so often it’s nice to dip my toes back into those old-school waters and remind myself why I fell in love with Linux in the first place. That’s precisely what MiyoLinux did for me recently. This lightweight distribution is based on Devuan and makes use of the i3 Tiling Window Manager.
Why is it important that MiyoLinux is based on Devuan? Because that means it doesn’t use systemd. There are many within the Linux community who’d be happy to make the switch to an old-school Linux distribution that opts out of systemd. If that’s you, MiyoLinux might just charm you into submission.
But don’t think MiyoLinux is going to be as easy to get up and running as, say, Ubuntu Linux, Elementary OS, or Linux Mint. Although it’s not nearly as challenging as Arch or Gentoo, MiyoLinux does approach installation and basic usage a bit differently. Let’s take a look at how this particular distro handles things.
Installation
The installation GUI of MiyoLinux is pretty basic. The first thing you’ll notice is that you are presented with a good amount of notes, regarding the usage of the MiyoLinux desktop. If you happen to be testing MiyoLinux via VirtualBox, you’ll wind up having to deal with the frustration of not being able to resize the window (Figure 1), as the Guest Additions cannot be installed. This also means mouse integration cannot be enabled during the installation, so you’ll have to tab through the windows and use your keyboard cursor keys and Enter key to make selections.
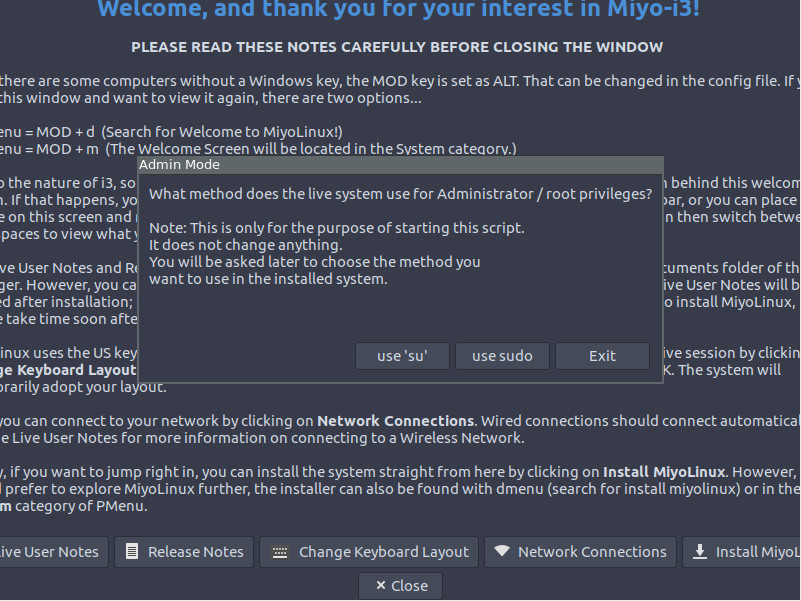
Once you click the Install MiyoLinux button, you’ll be prompted to continue using either ‘su” or sudo. Click the use sudo button to continue with the installation.
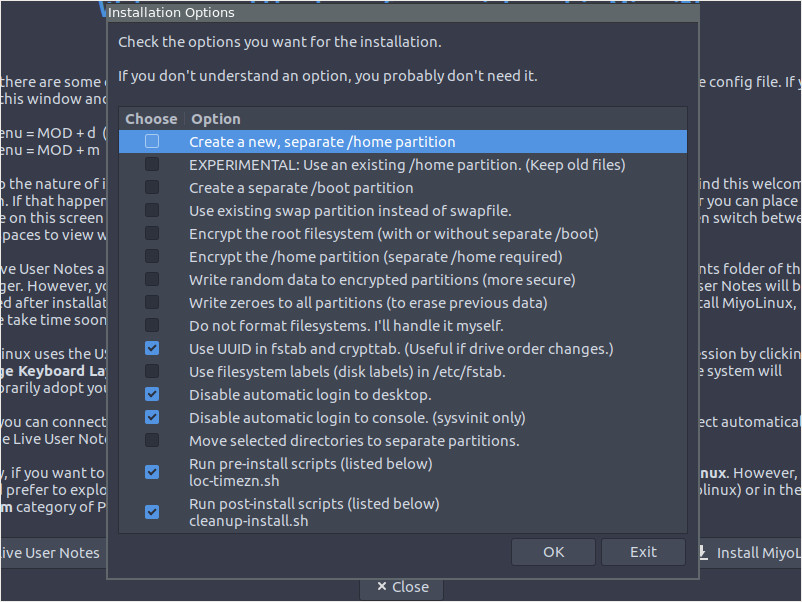
The next screen of importance is the Installation Options window (Figure 2), where you can select various options for MiyoLinux (such as encryption, file system labels, disable automatic login, etc.).
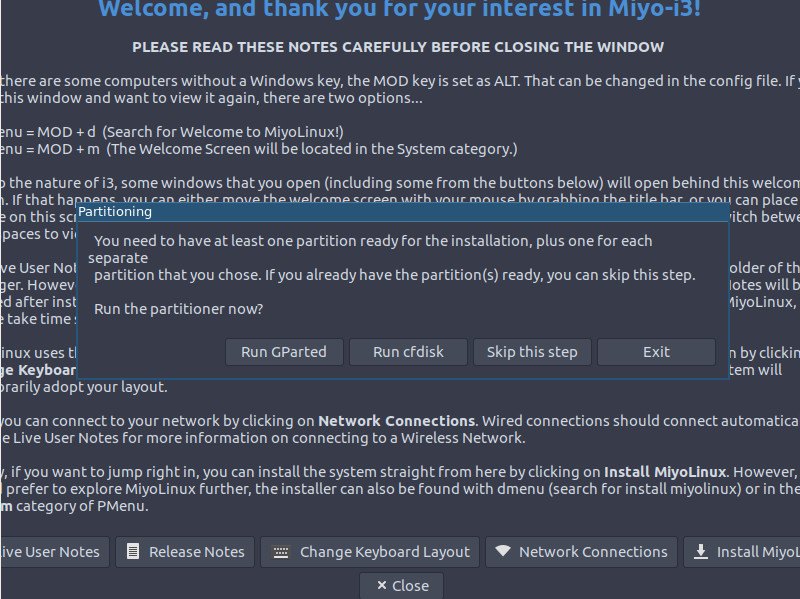
The MiyoLinux installation does not include an automatic partition tool. Instead, you’ll be prompted to run either cfdisk or GParted (Figure 3). If you don’t know your way around cfdisk, select GParted and make use of the GUI tool.
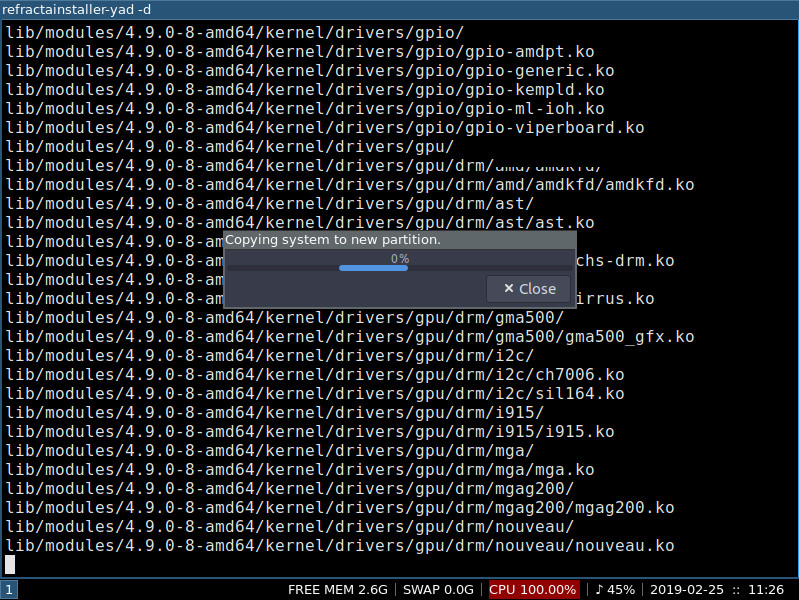
With your disk partitioned (Figure 4), you’ll be required to take care of the following steps:
-
Configure the GRUB bootloader.
-
Select the filesystem for the bootloader.
-
Configure time zone and locales.
-
Configure keyboard, keyboard language, and keyboard layout.
-
Okay the installation.
Once, you’ve okay’d the installation, all packages will be installed and you will then be prompted to install the bootloader. Following that, you’ll be prompted to configure the following:
-
Hostname.
-
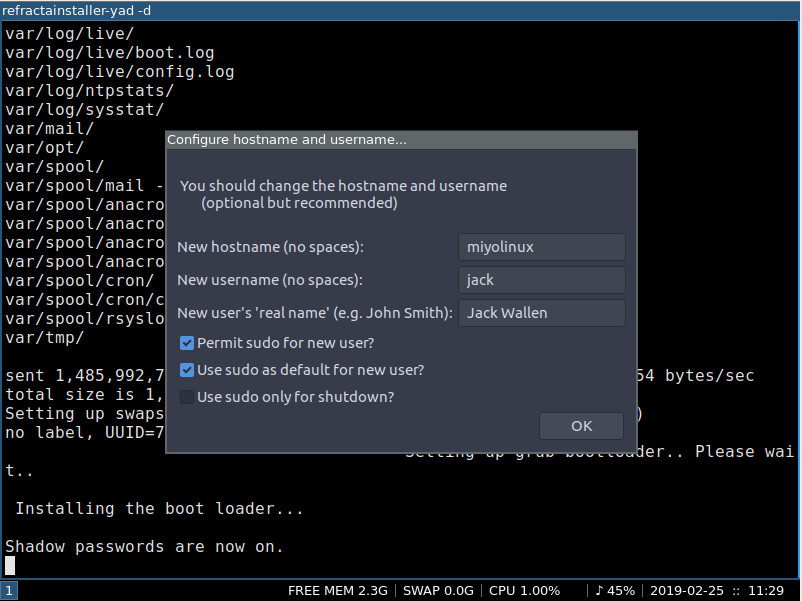
User (Figure 5).
-
Root password.
With the above completed, reboot and log into your new MiyoLinux installation.
Usage
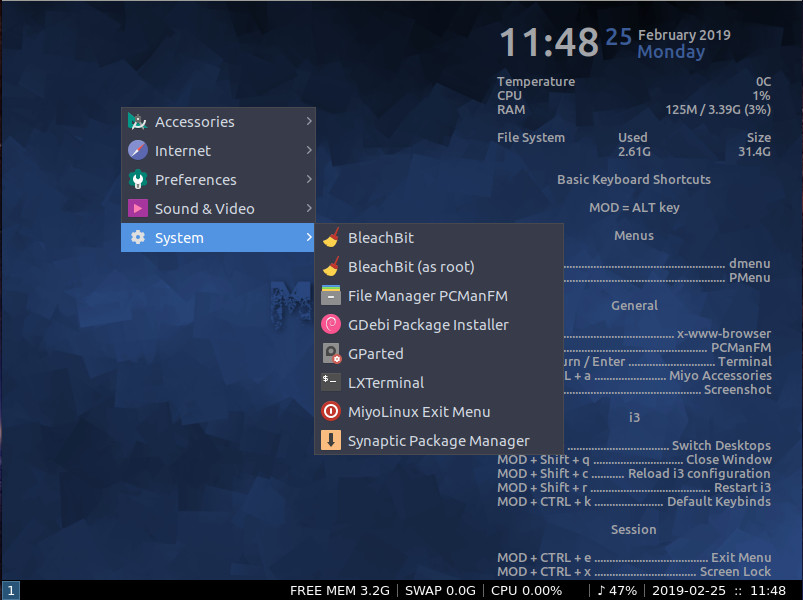
Once you’ve logged into the MiyoLinux desktop, you’ll find things get a bit less-than-user-friendly. This is by design. You won’t find any sort of mouse menu available anywhere on the desktop. Instead you use keyboard shortcuts to open the different types of menus. The Alt+m key combination will open the PMenu, which is what one would consider a fairly standard desktop mouse menu (Figure 6).
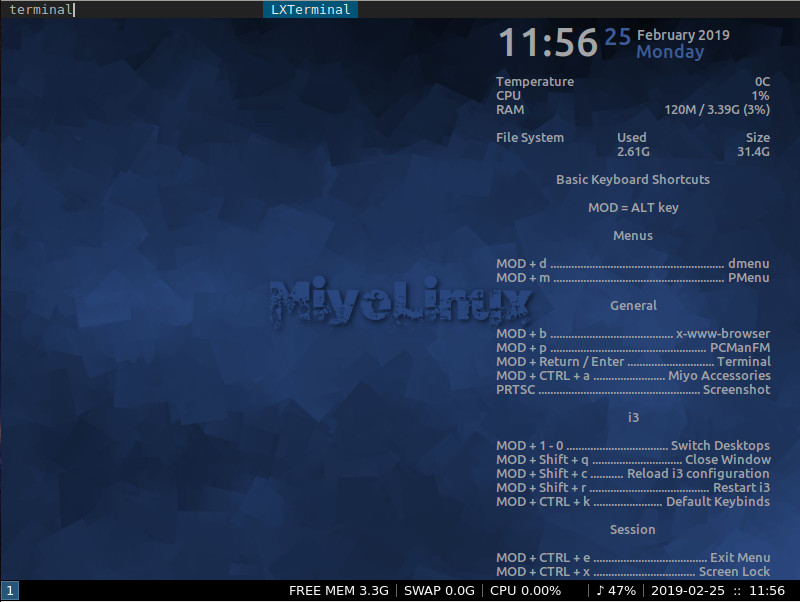
The Alt+d key combination will open the dmenu, a search tool at the top of the desktop, where you can scroll through (using the cursor keys) or search for an app you want to launch (Figure 7).
Installing Apps
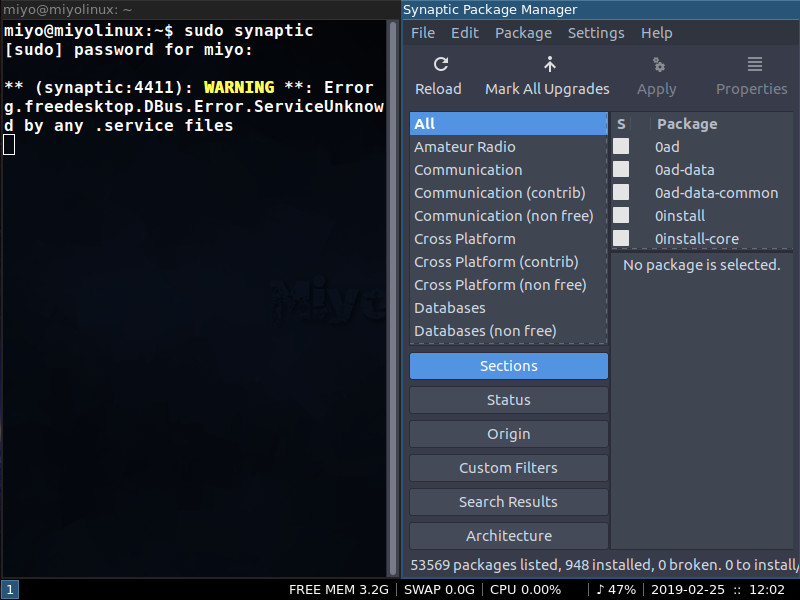
If you open the PMenu, click System > Synaptic Package Manager. From within that tool you can search for any app you want to install. However, if you find Synaptic doesn’t want to start from the PMenu, open the dmenu, search for terminal, and (once the terminal opens), issue the command sudo synaptic. That will get the package manager open, where you can start installing any applications you want (Figure 8).
Of course, you can always install applications from the command line. MiyoLinux depends upon the Apt package manager, so installing applications is as easy as:
sudo apt-get install libreoffice -y
Once installed, you can start the new package from either the PMenu or dmenu tools.
MiyoLinux Accessories
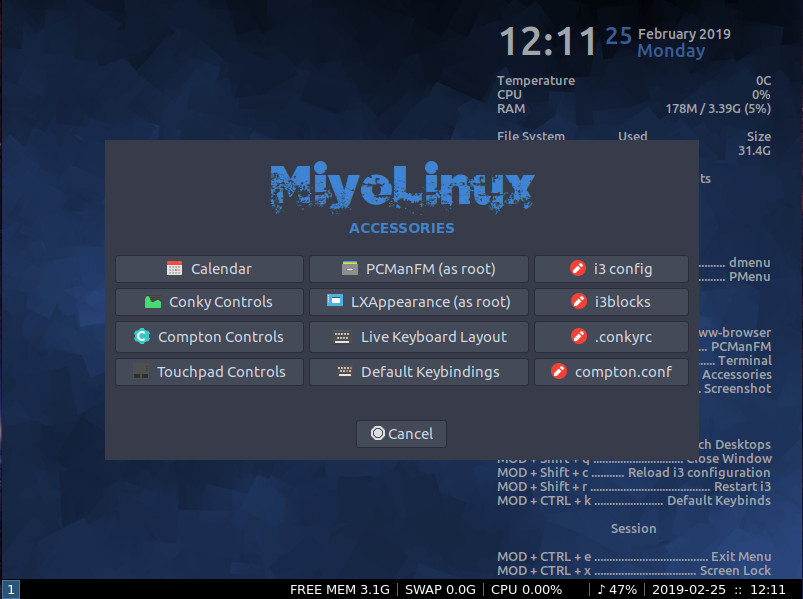
If you find you need a bit more from the MiyoLinux desktop, type the keyboard combination Alt+Ctrl+a to open the MiyoLinux Accessories tool (Figure 9). From this tool you can configure a number of options for the desktop.
All other necessary keyboard shortcuts are listed on the default desktop wallpaper. Make sure to put those shortcuts to memory, as you won’t get very far in the i3 desktop without them.
A Nice Nod to Old-School Linux
If you’re itching to throw it back to a time when Linux offered you a bit of challenge to your daily grind, MiyoLinux might be just the operating system for you. It’s a lightweight operating system that makes good use of a minimal set of tools. Anyone who likes their distributions to be less modern and more streamlined will love this take on the Linux desktop. However, if you prefer your desktop with the standard bells and whistles, found on modern distributions, you’ll probably find MiyoLinux nothing more than a fun distraction from the standard fare.


