Security is tantamount to peace of mind. After all, security is a big reason why so many users migrated to Linux in the first place. But why stop with merely adopting the platform, when you can also employ several techniques and technologies to help secure your desktop or server systems.
One such technology involves keys—in the form of PGP and SSH. PGP keys allow you to encrypt and decrypt emails and files, and SSH keys allow you to log into servers with an added layer of security.
Sure, you can manage these keys via the command-line interface (CLI), but what if you’re working on a desktop with a resplendent GUI? Experienced Linux users may cringe at the idea of shrugging off the command line, but not all users have the same skill set and comfort level there. Thus, the GUI!
In this article, I will walk you through the process of managing both PGP and SSH keys through the Seahorse GUI tool. Seahorse has a pretty impressive feature set; it can:
-
Encrypt/decrypt/sign files and text.
-
Manage your keys and keyring.
-
Synchronize your keys and your keyring with remote key servers.
-
Sign and publish keys.
-
Cache your passphrase.
-
Backup both keys and keyring.
-
Add an image in any GDK supported format as a OpenPGP photo ID.
-
Create, configure, and cache SSH keys.
For those that don’t know, Seahorse is a GNOME application for managing both encryption keys and passwords within the GNOME keyring. But fear not, Seahorse is available for installation on numerous desktops. And since Seahorse is found in the standard repositories, you can open up your desktop’s app store (such as Ubuntu Software or Elementary OS AppCenter) and install. To do this, locate Seahorse in your distribution’s application store and click to install. Once you have Seahorse installed, you’re ready to start making use of a very handy tool.
Let’s do just that.
PGP Keys
The first thing we’re going to do is create a new PGP key. As I said earlier, PGP keys can be used to encrypt email (with tools like Thunderbird’s Enigmail or the built-in encryption function with Evolution). A PGP key also allows you to encrypt files. Anyone with your public key will be able to decrypt those emails or files. Without a PGP key, no can do.
Creating a new PGP key pair is incredibly simple with Seahorse. Here’s what you do:
-
Open the Seahorse app
-
Click the + button in the upper left corner of the main pane
-
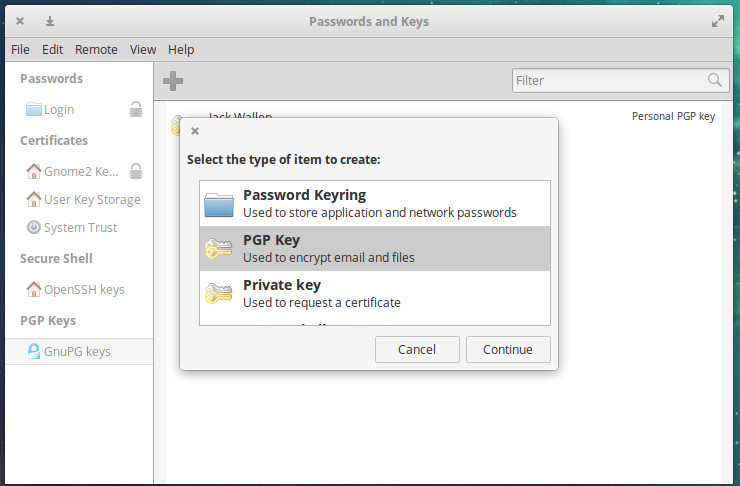
Select PGP Key (Figure 1)
-
Click Continue
-
When prompted, type a full name and email address
-
Click Create
While creating your PGP key, you can click to expand the Advanced key options section, where you can configure a comment for the key, encryption type, key strength, and expiration date (Figure 2).
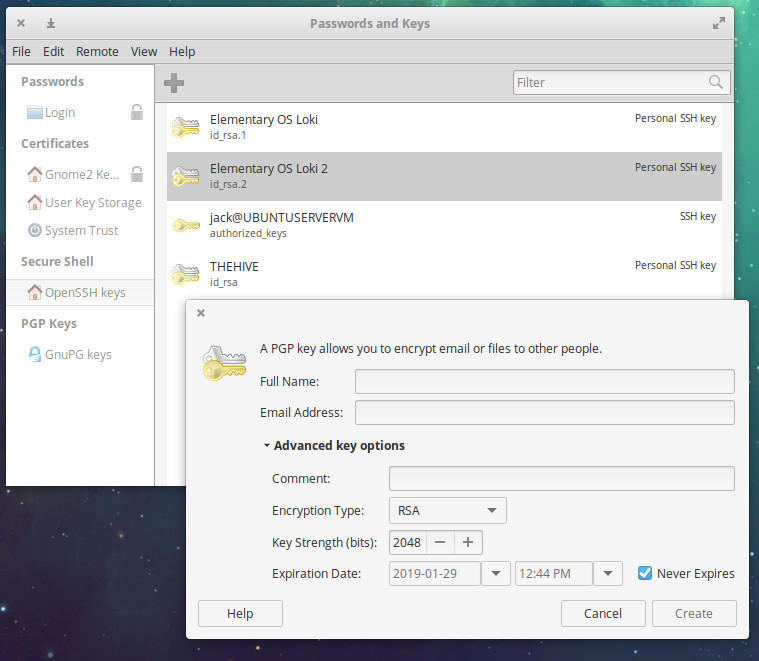
The comment section is very handy to help you remember a key’s purpose (or other informative bits).
With your PGP created, double-click on it from the key listing. In the resulting window, click on the Names and Signatures tab. In this window, you can sign your key (to indicate you trust this key). Click the Sign button and then (in the resulting window) indicate how carefully you’ve checked this key and how others will see the signature (Figure 3).
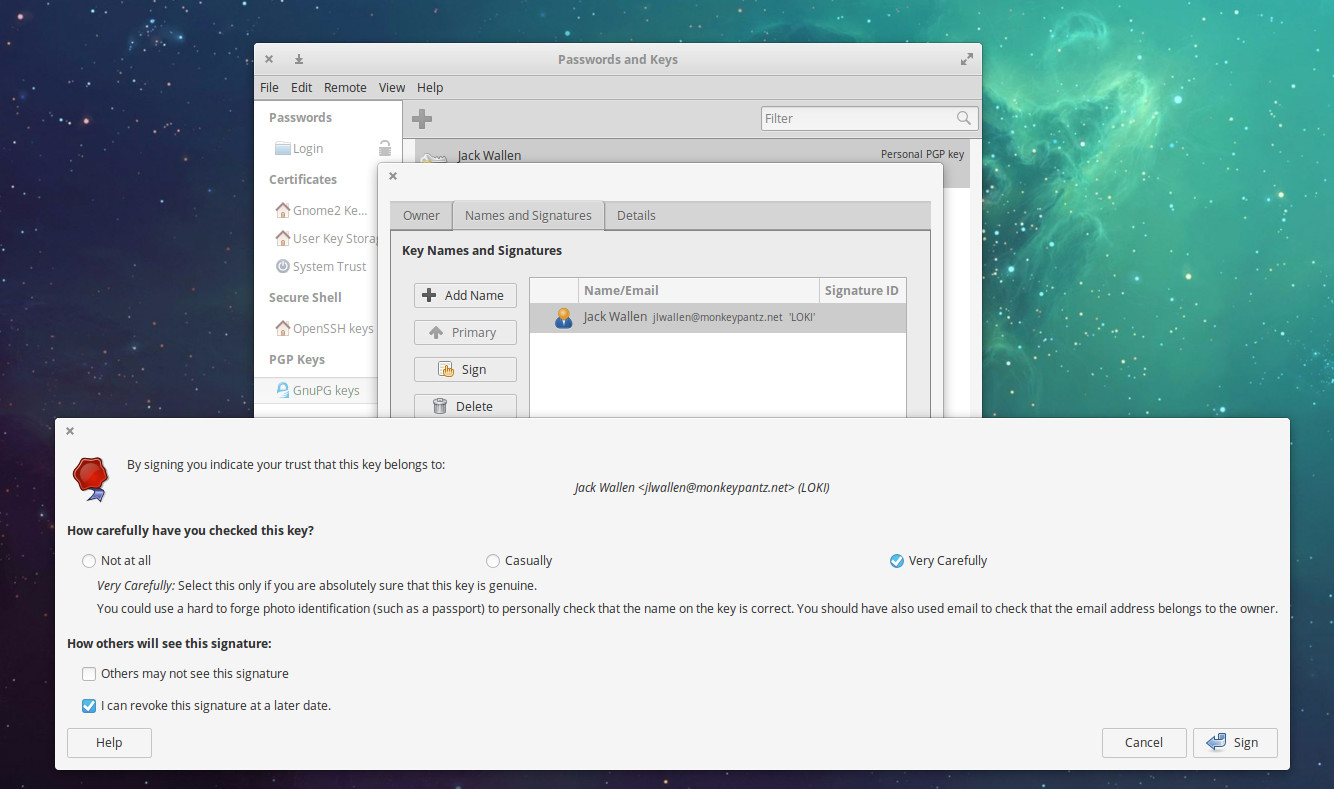
Signing keys is very important when you’re dealing with other people’s keys, as a signed key will ensure your system (and you) you’ve done the work and can fully trust an imported key.
Speaking of imported keys, Seahorse allows you to easily import someone’s public key file (the file will end in .asc). Having someone’s public key on your system means you can decrypt emails and files sent to you from them. However, Seahorse has suffered a known bug for quite some time. The problem is that Seahorse imports using gpg version one, but displays with gpg version two. This means, until this long-standing bug is fixed, importing public keys will always fail. If you want to import a public PGP key into Seahorse, you’re going to have to use the command line. So, if someone has sent you the file olivia.asc, and you want to import it so it can be used with Seahorse, you would issue the command gpg2 –import olivia.asc. That key would then appear in the GnuPG Keys listing. You can open the key, click the I trust signatures button, and then click the Sign this key button to indicate how carefully you’ve checked the key in question.
SSH Keys
Now we get to what I consider to be the most important aspect of Seahorse—SSH keys. Not only does Seahorse make it easy to generate an SSH key, it makes it easy to send that key to a server, so you can take advantage of SSH key authentication. Here’s how you generate a new key and then export it to a remote server.
-
Open up Seahorse
-
Click the + button
-
Select Secure Shell Key
-
Click Continue
-
Give the key a description
-
Click Create and Set Up
-
Type and verify a passphrase for the key
-
Click OK
-
Type the address of the remote server and a remote login name found on the server (Figure 4)
-
Type the password for the remote user
-
Click OK
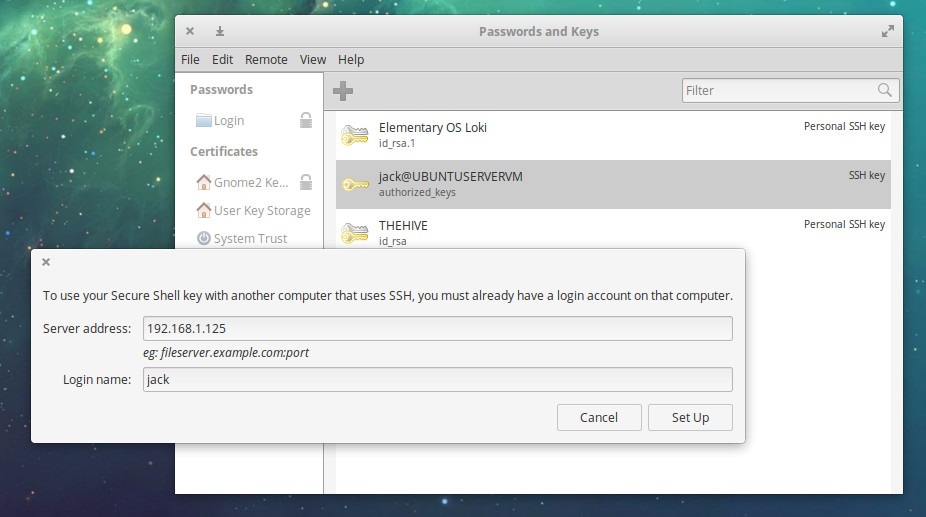
The new key will be uploaded to the remote server and is ready to use. If your server is set up for SSH key authentication, you’re good to go.
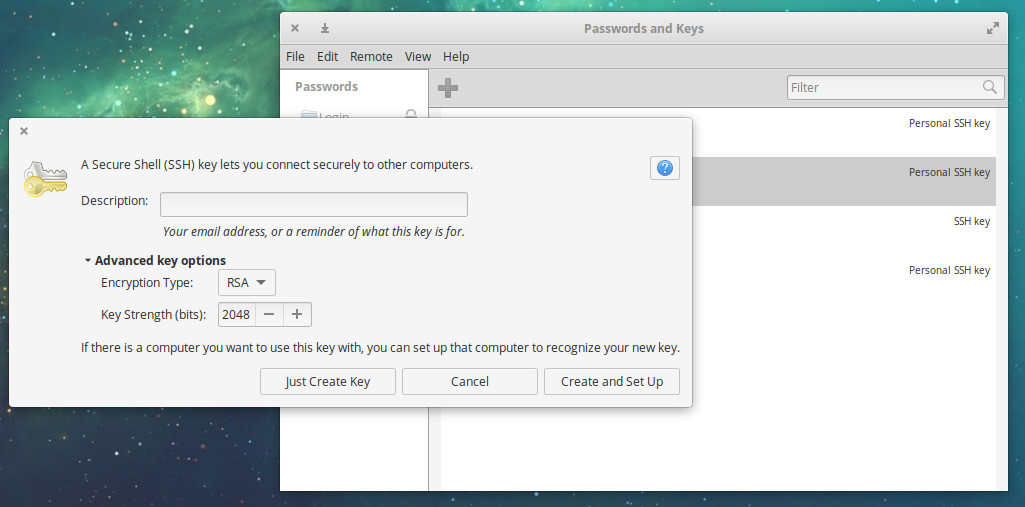
Do note, during the creation of an SSH key, you can click to expand the Advanced key options and configure Encryption Type and Key Strength (Figure 5).
A must-use for new Linux users
Any new-to-Linux user should get familiar with Seahorse. Even with its flaws, Seahorse is still an incredibly handy tool to have at the ready. At some point, you will likely want (or need) to encrypt or decrypt an email/file, or manage secure shell keys for SSH key authentication. If you want to do this, while avoiding the command line, Seahorse is the tool to use.


