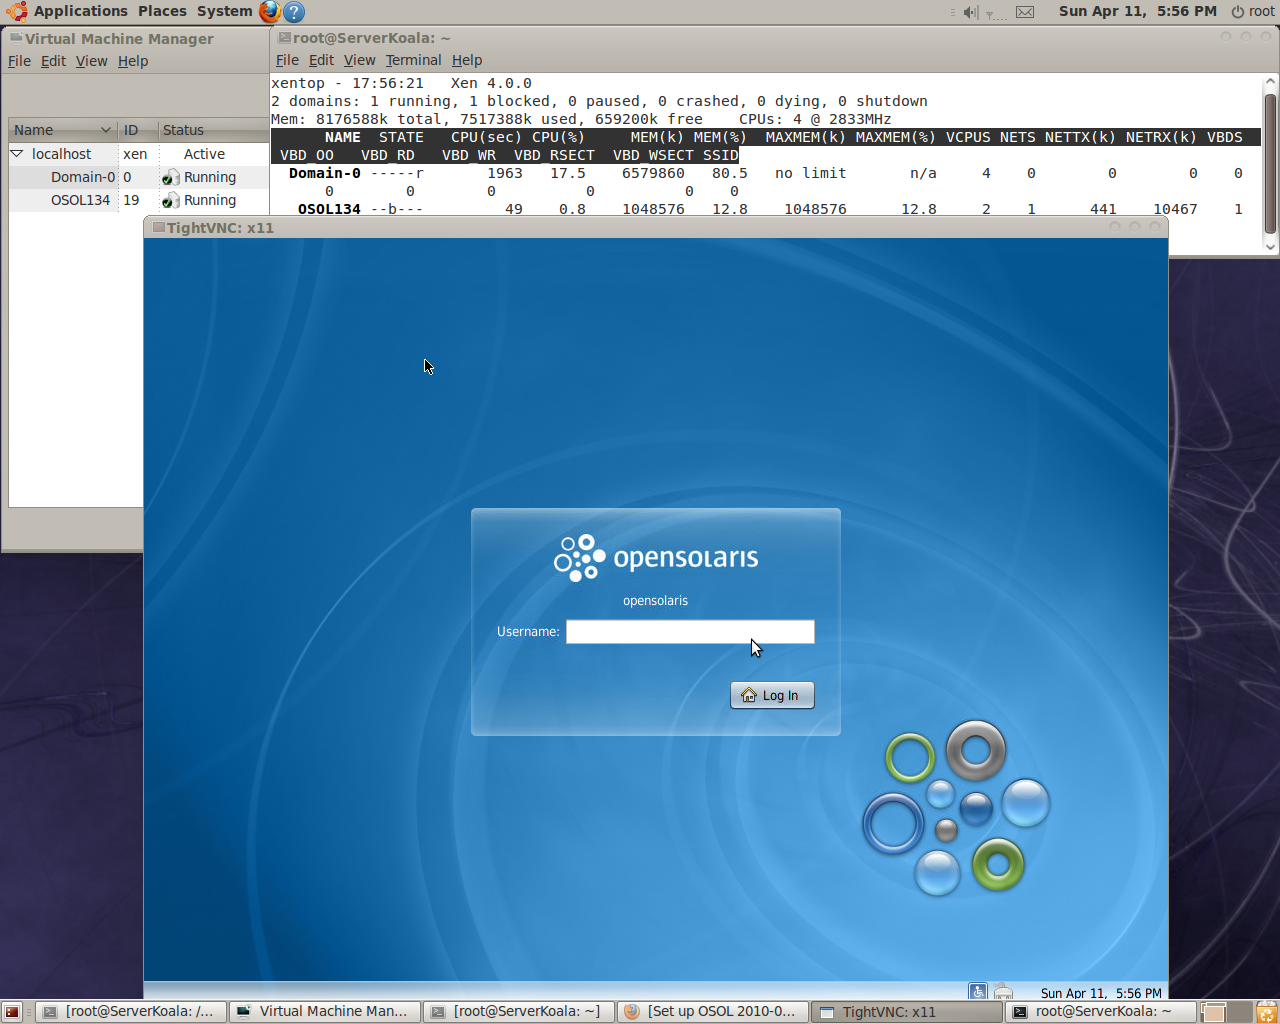
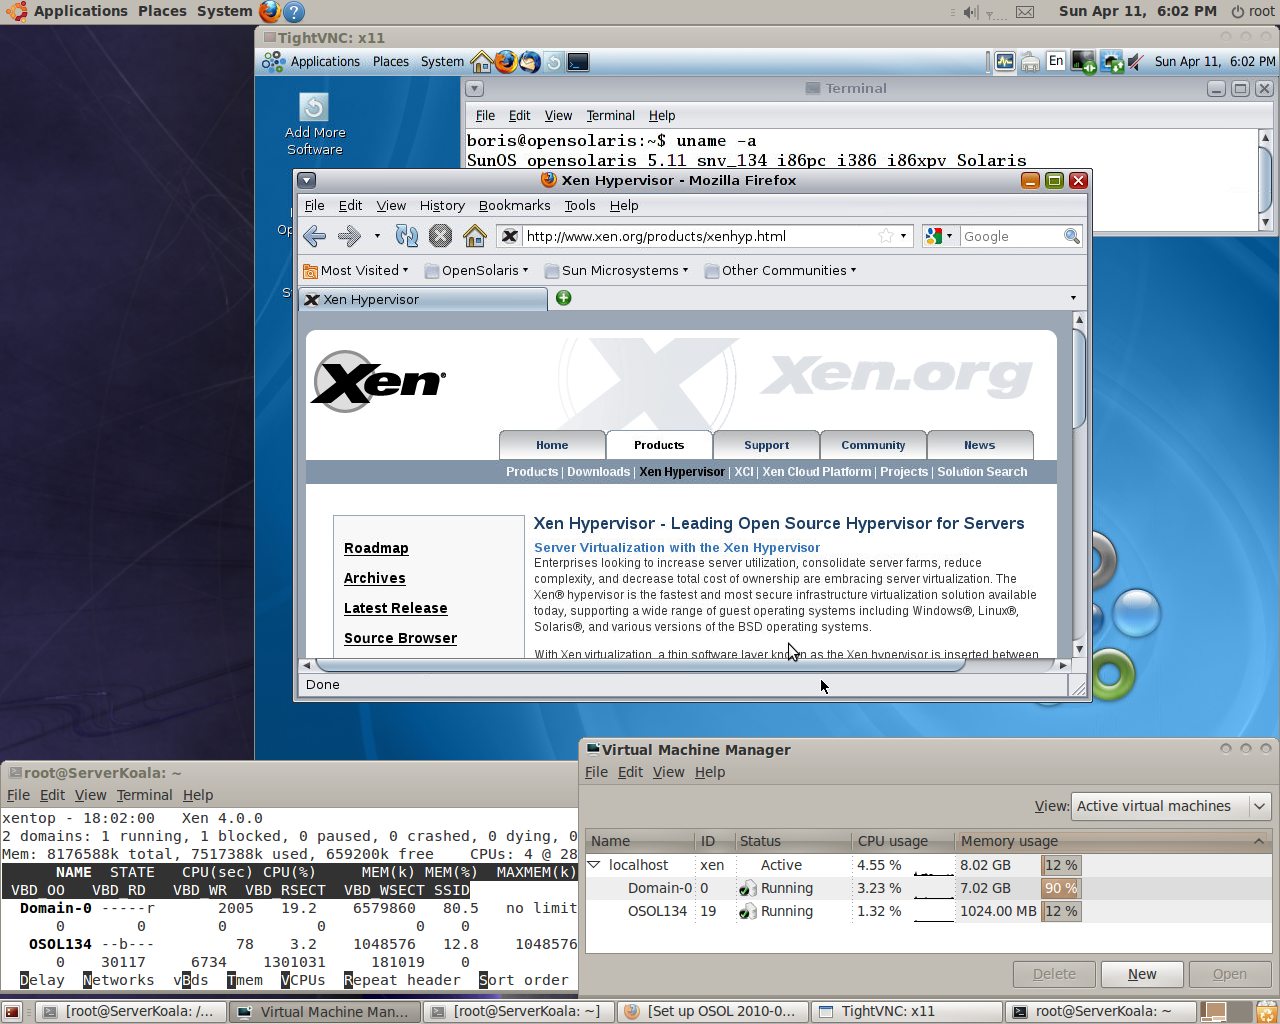
Due to absence in meantime pygrub support for ZFS 24 in Xen 4.0 proceed as usual and copy unix kernel and boot_archive off the disk to Dom0 :
mount -o loop,ro osol-134-dev-x86.iso /mnt
cp /mnt/platform/i86pc/amd64/boot_archive /home/boris/osol134
cp /mnt/platform/i86xpv/kernel/amd64/unix /home/boris/osol134
In my case OSOL 134 PV DomU was able to obtain IP address just once after first boot up configuring SMF . Afterwards it required restarting ( or reenabling) service svc:/network/physical:nwam, what finally brought me to accomplish this procedure as OSOL service , because no analog of /etc/rc.local exists on OSOL.
Two steps in procedure bellow make Xen default Hypervisor on Ubuntu 9.10. First is commenting out (xend-unix-server yes) in /etc/xen/xend-config.sxp, second export variable export VIRSH_DEFAULT_CONNECT_URI=”xen:///” in root’s .bashrc.Then run:-
# apt-get install ubuntu-virt-server ubuntu-virt-mgmt
Create installation XML profile create_osol134.xml as follows :-
<domain type=’xen’>
<name>osol134</name>
<uuid>f80856df-3180-acc5-931d-32190cfe4062</uuid>
<memory>1048576</memory>
<currentMemory>1048576</currentMemory>
<vcpu>2</vcpu>
<bootloader></bootloader>
<os>
<type>linux</type>
<kernel>/home/boris/osol134/unix</kernel>
<initrd>/home/boris/osol134/boot_archive</initrd>
<cmdline>/platform/i86xpv/kernel/amd64/unix – nowin -B install_media=cdrom</cmdline>
</os>
<clock offset=’utc’/>
<on_poweroff>destroy</on_poweroff>
<on_reboot>destroy</on_reboot>
<on_crash>destroy</on_crash>
<devices>
<disk type=’block’ device=’disk’>
<driver name=’phy’/>
<source dev=’/dev/sdb5’/>
<target dev=’xvda’ bus=’xen’/>
</disk>
<disk type=’file’ device=’cdrom’>
<driver name=’file’/>
<source file=’/root/MyDownloads/osol-dev-134.iso’/>
<target dev=’xvdc’ bus=’xen’/>
<readonly/>
</disk>
<interface type=’bridge’>
<mac address=’00:16:3e:72:da:33’/>
<source bridge=’eth0’/>
<script path=’/etc/xen/scripts/vif-bridge’/>
<target dev=’vif7.0’/>
</interface>
<console type=’pty’ tty=’/dev/pts/1′>
<source path=’/dev/pts/1’/>
<target port=’0’/>
</console>
</devices>
</domain>
and run
# virsh create create_osol134.xml
# virsh console osol134
At this point activate VNC connection to DomU via script
domid=`virsh domid osol134`
ip=`/usr/bin/xenstore-read /local/domain/$domid/guest/ipv4/0/address`
echo $ip
port=`/usr/bin/xenstore-read /local/domain/$domid/guest/vnc/port`
echo $port
/usr/bin/xenstore-read /local/domain/$domid/guest/vnc/passwd
vncviewer $ip:$port
and go through normal install. Now define new domain via profile :
<domain type=’xen’>
<name>osol34</name>
<uuid>0b9a31cc-13c2-065b-e64d-4ba1a042dedc</uuid>
<memory>1048576</memory>
<currentMemory>1048576</currentMemory>
<vcpu>2</vcpu>
<bootloader></bootloader>
<os>
<type>linux</type>
<kernel>/home/boris/osol134/unix</kernel>
<initrd>/home/boris/osol134/boot_archive</initrd>
<cmdline>/platform/i86xpv/kernel/amd64/unix -B zfs-bootfs=rpool/ROOT/opensolaris,bootpath=/xpvd/xdf@51712:a</cmdline>
</os>
<clock offset=’utc’/>
<on_poweroff>destroy</on_poweroff>
<on_reboot>destroy</on_reboot>
<on_crash>destroy</on_crash>
<devices>
<disk type=’block’ device=’disk’>
<driver name=’phy’/>
<source dev=’/dev/sdb5’/>
<target dev=’xvda’ bus=’xen’/>
</disk>
<interface type=’bridge’>
<mac address=’00:16:3e:4d:60:e3’/>
<source bridge=’eth0’/>
<script path=’/etc/xen/scripts/vif-bridge’/>
<target dev=’vif8.0’/>
</interface>
<console type=’pty’ tty=’/dev/pts/1′>
<source path=’/dev/pts/1’/>
<target port=’0’/>
</console>
</devices>
</domain>
# virsh define osol134-def.xml
# virsh start osol134
# virsh console osol134
In my case after first reboot configuring SMF OSOL 134 stopped obtain IP address via DHCP and required every time commands bellow :-
$ pfexec su –
# svcadm restart svc:/network/physical:nwam
Due /etc/rc.local doesn’t exist on OSOL new service to restart NWAM was
implemented. First i created script /bin/dhcp_again.sh to add as service to SMF
root@opensolaris:~# cat /bin/dhcp_again.sh
svcadm restart svc:/network/physical:nwam
Created XML bellow per [1]:
<?xml version=”1.0″?>
<!DOCTYPE service_bundle SYSTEM “/usr/share/lib/xml/dtd/service_bundle.dtd.1”>
<!–Script name goes here–>
<service_bundle type=’manifest’ name=’SUNWcsr:dhcp_again’>
<!–Script name goes here too–>
<service
name=’site/dhcp_again’
type=’service’
version=’1′>
<create_default_instance enabled=’false’ />
<single_instance/>
<!–If your script needs to run after a certain milestone has been met
you can specify that here, otherwise delete this bit.
Replace value for milestone you need to meet–>
<dependency
name=’milestone’
grouping=’require_all’
restart_on=’none’
type=’service’>
<service_fmri value=’svc:/milestone/network’ />
</dependency>
<!–Script to run goes here–>
<exec_method
type=’method’
name=’start’
exec=’/usr/bin/bash /bin/dhcp_again.sh’
timeout_seconds=’60’ />
<exec_method
type=’method’
name=’stop’
exec=’:kill’
timeout_seconds=’60’ />
<!–This bit makes it run ONCE and makes sure it is NOT restarted!–>
<property_group name=’startd’ type=’framework’>
<propval name=’duration’ type=’astring’ value=’transient’ />
</property_group>
<template>
<common_name>
<loctext xml:lang=’C’>
<!–Script name goes here–>
DHCP_AGAIN
</loctext>
</common_name>
<documentation>
<manpage title=” section=”
manpath=” />
</documentation>
</template>
</service>
</service_bundle>
Next step:-
# cd /var/svc/manifest/site
XML above saved in this directory as dhcp_again.xml
# svccfg validate dhcp_again.xml
# svccfg import dhcp_again.xml
# svcadm enable dhcp_again
#root@opensolaris:~# svcs -a|grep dhcp
online 19:37:20 svc:/site/dhcp_again:default
At this point activate GDM remote login via Xvnc :
root@opensolaris:~# cat /etc/gdm/custom.conf
# Custom Configuration file.
# overrides: /usr/share/gdm/defaults.conf
[daemon]
RemoteGreeter=/usr/lib/gdmgreeter
[security]
DisallowTCP=false
# AllowRoot=true
# AllowRemoteRoot=true
[xdmcp]
Enable=true
[gui]
[greeter]
[chooser]
[debug]
[servers]
Then re-enable services :
svcadm disable xvnc-inetd gdm
svcadm enable xvnc-inetd gdm

References
1. http://www.hashbang0.com/blog/2010/03/26/making-a-script-run-on-startup-on-opensolaris/


