Chances are you’ve heard about Snap packages. These universal packages were brought into the spotlight with the release of Ubuntu 16.04 and have continued to draw attention as a viable solution for installing applications on Linux. What makes Snap packages so attractive to the end user? The answer is really quite easy: Simplicity. In this article, I’ll answer some common questions that arise when learning about Snaps and show how to start using them.
Exactly what are Snap packages? And why are they needed? Considering there are already multiple ways to install software on Linux, doesn’t this complicate the issue? Not in the slightest. Snaps actually makes installing/updating/removing applications on Linux incredibly easy.
How does it accomplish this? Essentially, a Snap package is a self-contained application that bundles most of the libraries and runtimes (necessary to successfully run an application) into a single, universal package. Because of this, Snaps can be installed, updated, and reverted without affecting the rest of the host system, and without having to first install dependencies. Snap packages are also confined from the OS (via various security mechanisms), yet can still function as if it were installed by the standard means (exchanging data with the host OS and other installed applications).
Are Snaps challenging to work with? In a word, no. In fact, Snaps make short work of installing apps that might otherwise challenge your Linux admin skills. Since Snap packages are self-contained, you only need to install one package to get an app up and running.
Although Snap packages were created by Ubuntu developers, they can be installed on most modern Linux distributions. Because the necessary tool for Snap packages is installed on the latest releases of Ubuntu out of the box, I’m going to walk you through the process of installing and using Snap packages on Fedora. Once installed, using Snap is the same, regardless of distribution.
Installation
The first thing you must do is install the Snap system, aka snapd. To do this on Fedora, open up the terminal window and issue the command:
sudo dnf install snapd
The above command will catch any necessary dependencies and install the system for Snap. That’s all there is to is. You’re ready to install your first Snap package.
Installing with Snap: Command-line edition
The first thing you’ll want to do is find out what packages are available to install via Snap. Although Snap has begun to gain significant momentum, not every application can be installed via Snap. Let’s say you want to install GIMP. First you might want to find out what GIMP-relate packages are available as Snaps. Back at the terminal window, issue the command:
sudo snap find gimp
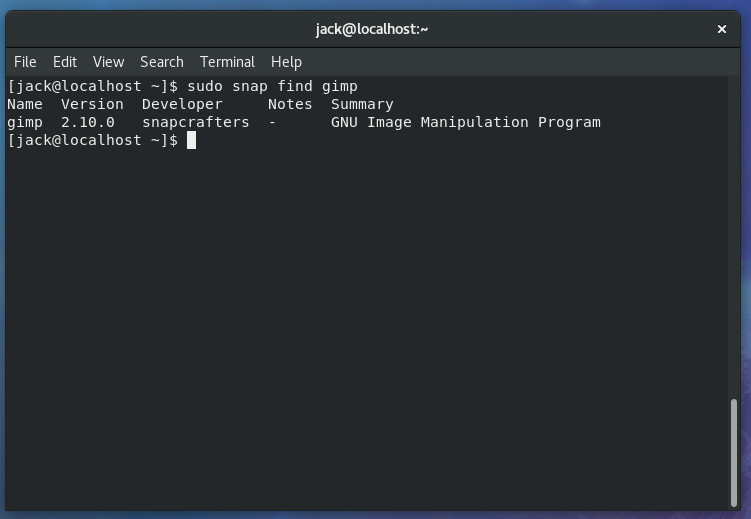
The command should report only one package available for GIMP (Figure 1).
To get a better idea as to what the find option can do for you, issue the command:
sudo snap find nextcloud
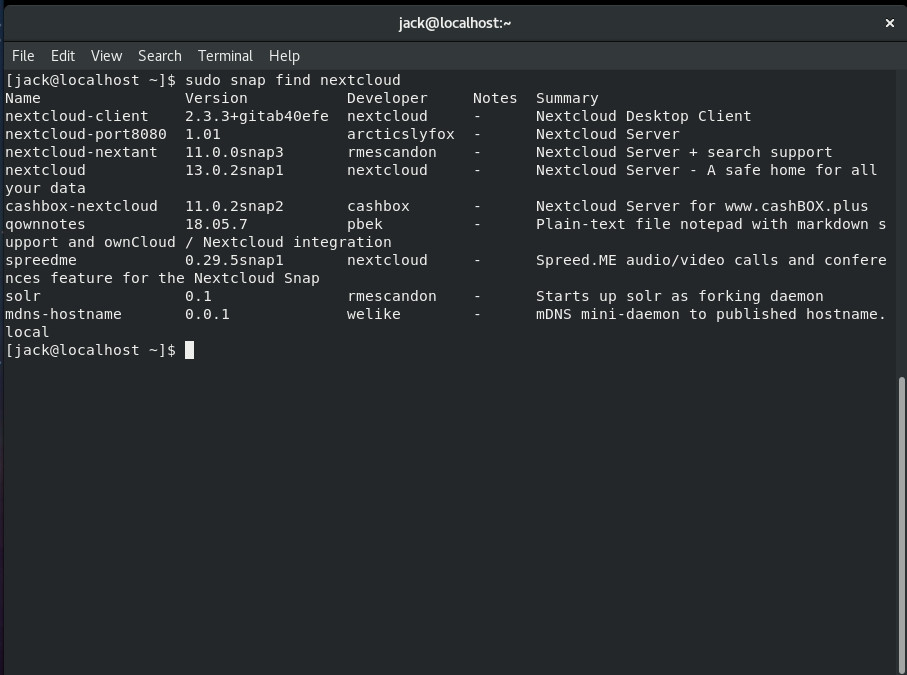
The output of that command (Figure 2) will report Snap packages related to Nextcloud.
Let’s say you want to go ahead and install GIMP via Snap. To do this, issue the command:
sudo snap install gimp
The above command will download and install the Snap package. After the command completes, you’ll find GIMP in your desktop menu, ready to use.
Updating Snap packages
Once a Snap package is installed, it will not be updated by the normal method of system updating (via apt, yum, or dnf). To update a Snap package, the refresh option is used. Say you want to update GIMP, you would issue the command:
sudo snap refresh gimp
If an updated Snap package is available, it will be downloaded and installed. Say, however, you have a number of Snap packages installed, and you want to update them all. This is done with the command:
sudo snap refresh
The snapd system will check all installed Snap packages against what’s available. If there are newer versions, the installed Snap package will be updated. One thing to note is that Snap packages are automatically updated daily, so you don’t have to manually issue the refresh command, unless you want to do this manually.
Listing installed Snap packages
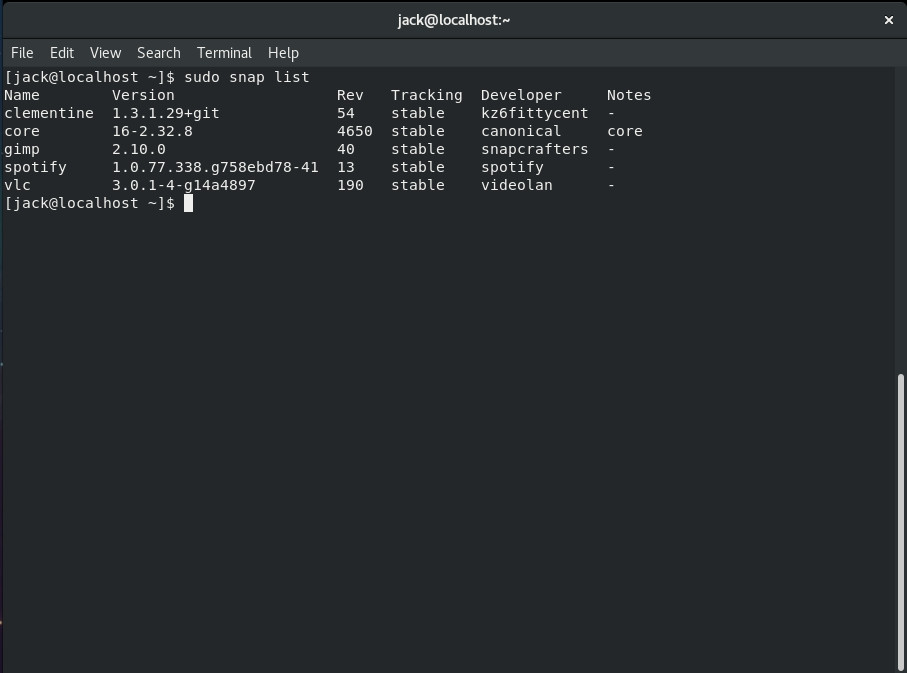
What if you’re not sure which Snap packages you’ve installed? Easy. Issue the command sudo snap list and all of your installed Snap packages will be listed for you (Figure 3).
Removing Snap packages
Removing a Snap package is just as simple as installing. We’ll stick with our GIMP example. To remove GIMP, issue the command:
sudo snap remove gimp
One thing you’ll notice is that removing a Snap package takes significantly less time than uninstalling via the standard method (i.e., sudo apt remove gimp or sudo dnf remove gimp). In fact, on my test Fedora system, installing, updating, and removing GIMP was quite a bit faster than doing so with dnf.
Installing with Snap: GUI edition
You can enable Snap support in GNOME Software with a quick dnf install command. That command is:
sudo dnf install gnome-software-snap
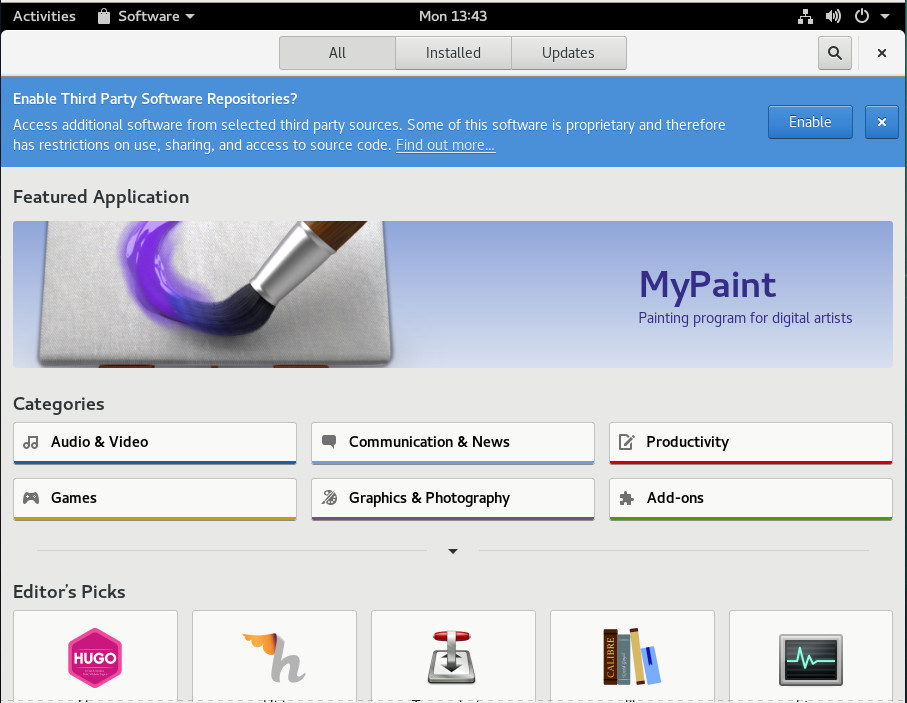
Once the command finishes, reboot your system and open up GNOME Software. You will be prompted to enable third party repositories (Figure 4). Click Enable and Snap packages are now ready to be installed.
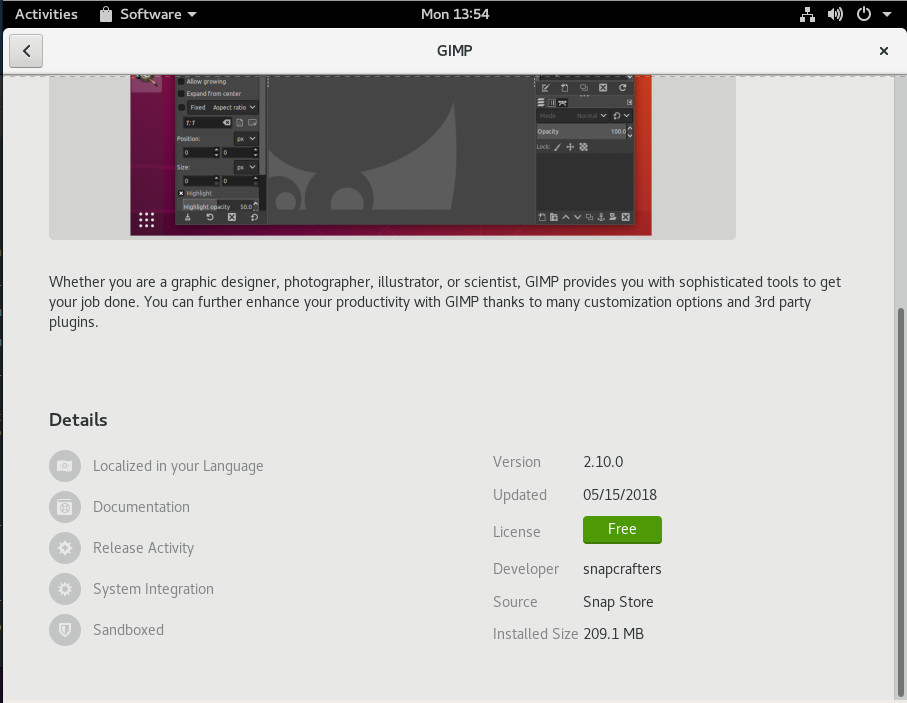
If you now search for GIMP, you will see two versions available. Click on one and if you see Snap Store as the source (Figure 5), you know that’s the Snap version of GIMP.
Although I cannot imagine a reason for doing so, you can install both the standard and Snap version of the package. You might find it difficult to know which is which, however. Just remember, if you use a mixture of Snap and non-Snap packages, you must update them separately (which, in the case of Snap packages, happens automatically).
Get your Snap on
Snap packages are here to stay, of that there is no doubt. No matter if you administer or use Linux on the server or desktop, Snap packages help make that task significantly easier. Get your Snap on today and see if you don’t start defaulting to this universal package format, over the standard installation fare.


